Applying Water Slide Decals

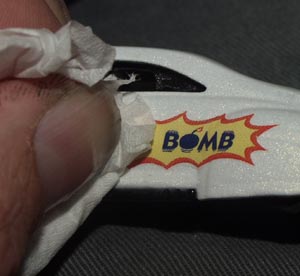
First you need to cut out around the decal as close to the image as you can. The closer, the better it looks. For small objects its better to leave some excess so you can handle it.
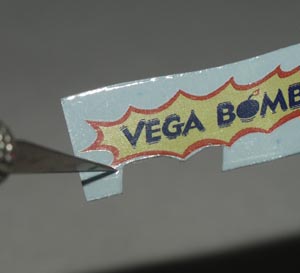
Soak in water for 3 minutes or until the decal will slide off the backing paper. You can add 1 drop of dish soap in the water. This will allow the decal to slide better on the die-cast surface. Be sure to wet the surface of the die-cast at the point of application.
You can now add a few drops of decal prep to the area you are going to affix the decal  It helps slide the decal around the casting. Now remove the decal from the water and slide the decal from the backing paper to the die-cast surface. Slide the decal into position. Take your fingers and start from the middle and slowly and carefully press out the air bubble with your finger.  Once you have the decal in place you can now dab the decal dry with a piece of tissue. 
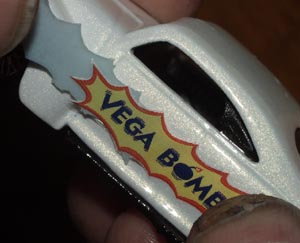
Not to be confused the picture is a casting of a Tail Dragger not a Vega. I did not have a Vega.
After a few hours you can cut off any excess clear decal that overhangs off the die-cast. You can now clear coat the decal if you desire. If you want to clear coat  the decal start off with some real light coats. Just enough to dust the surface. Once you have a few light coats  you can  apply a thicker coat. Remember, If you muff and ruin a decal putting it on, just let me know and I will send you a replacement, On Me