|
|
|
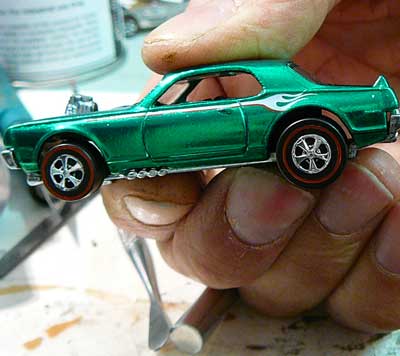
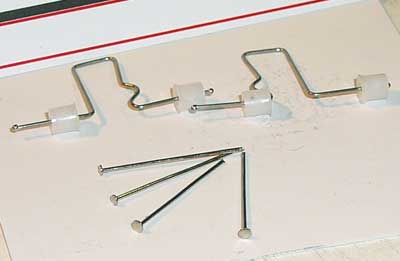
Step 1: In the Universal Axle set you will find the bearings on bent axles. If you can get these to fit that is great. If you can not cut them in half to fit then you can cut the ends off the axles and install the bearings on the independent straight axle. Then proceed to the next step. For reference we are going to use the bent axles and trim them to fit. |
|
|
|
Step 2: Drill out the rivets. We have a more specific instructions set on this step in our "How to" section. |
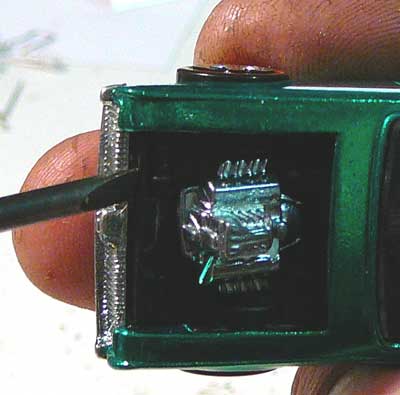 |
| Step 3: Once you have the rivets drilled out lightly pry apart the body form the base. |
|
|
|
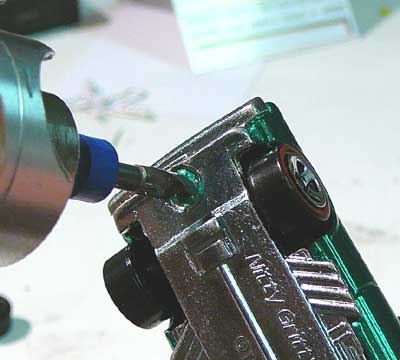
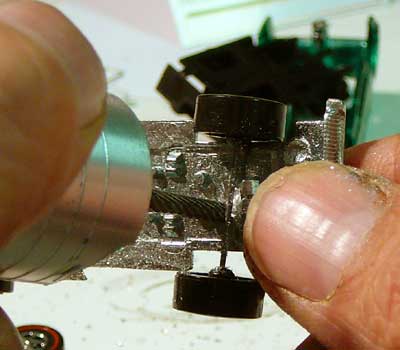
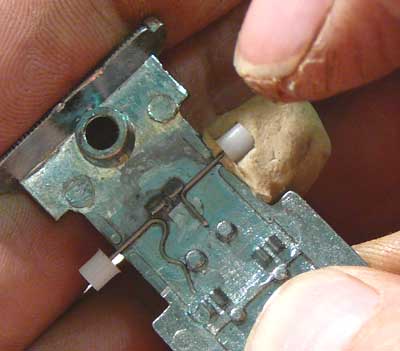
Step 4: Now you will need to grind out the crimping that holds the axle set in place. This configuration will vary from car to car. This is where you may have to improvise to remove the axle. |
|
|
|
Step 5: Match up the axle set on the base to see if it will fit without any cutting or bending. In this case it will not fit without some modification. Most will be like this. |

|
|
|
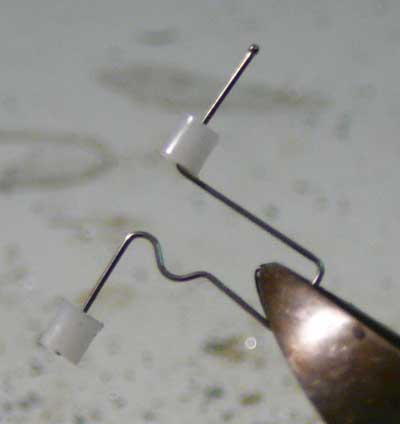
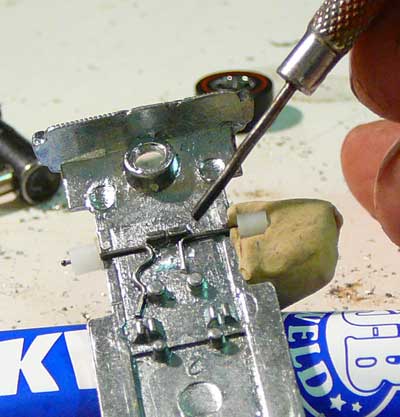
Step 6: I will have to cut the axle in half to get it to fit. If you notice Mattel actually installed posts and crimps for this particular car. It looks like they were going to use bent axle set and then decided against it (different size than mine) . My guess would be cost saving. |
|
|
|
Step 7: Align the one half of the axle in the position you want. Make sure you live 1/8 inch between the bearing and the base. Otherwise the wheels may rub against the body. Then drop a small amount of fast drying super glue and hold in position until dry. |
|
|
|
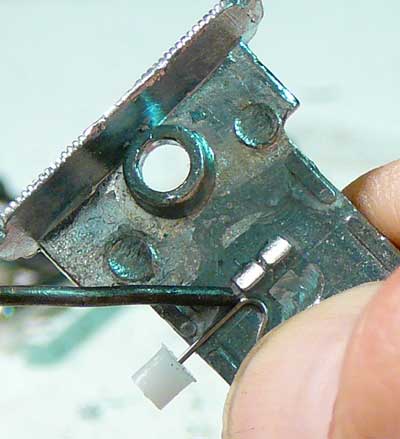
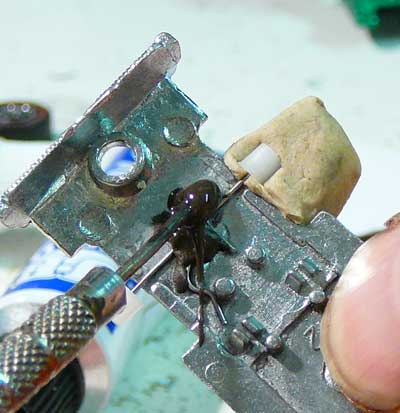
Step 8: The axle on the other side I had to cut it down even more. So now I do not have enough axle left to be able to hold on to it while I super glue it in place. So here is a little trick I use. Get some clay and insert the axle and bearing into it as shown. |
|
|
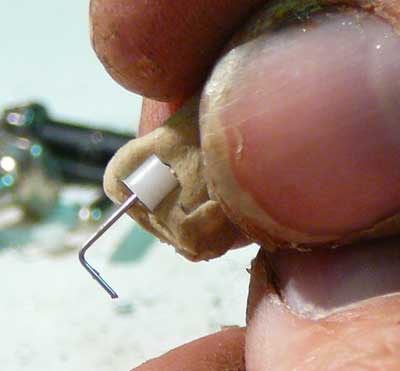
| Step 9: Place the axle set in clay into position. The clay will allow it to stick to the base keeping your hands free. |
|
|
| Step 10: Put a drop of fast drying super glue to hold the axle set into position. One dry you are now ready to epoxy the axle set into their final position. |
|
|
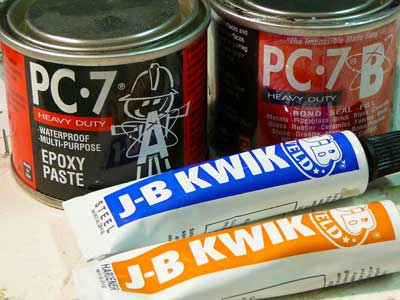
| Step 11: I use two part epoxy's. Most any kind will work. My favorite is the J-B Kwik. It is easy to mix and dries fast. |
|
|
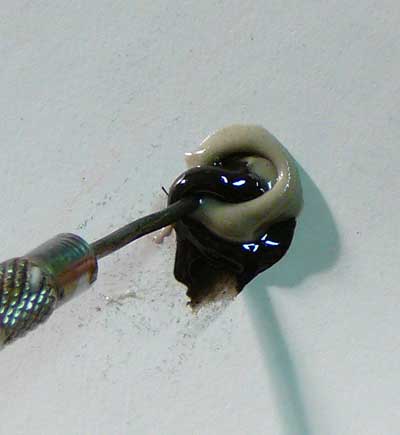
| Step 12: Mix a small amount of equal parts. Mix until a solid dark gray. |
|
|
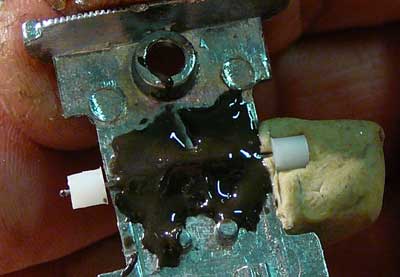
| Step 13: Now place the mixed epoxy into the base where the base and axles touch. |
|
|
|
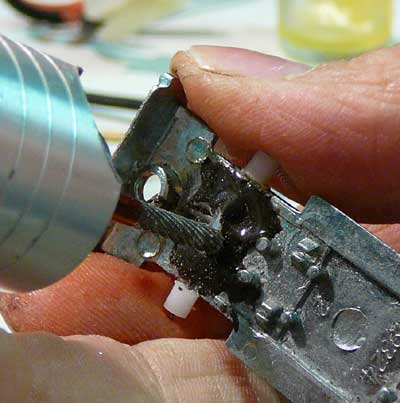
Step 14: Make sure you cover the entire amount of axles. This will allow the axles to stay in position and keep from having to take the car back apart because you a loose axle. |
|
|
|
Step 15: Now repeat on the other end of the base. Once you are finished you are ready to the car back together. You may have to shave the top of the epoxy down a little so the body fits back onto the base. |
|
|
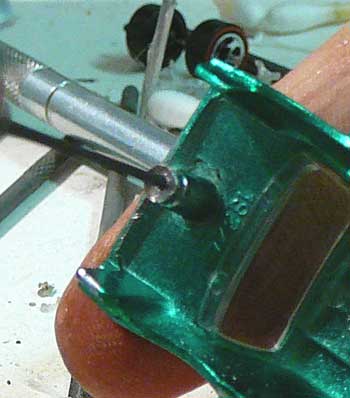
| Step 16: Drill out your post with a 3/16" drill bit and size it up for your rivet. |
 |
|
Step 17: One you have your posts drilled out make sure your rivets fit. Then put the car back together, drop some 2 part epoxy down the drill hole and insert your rivet. |
|
|
| Step 18: You are now finished. You may have had to use the independent straight axle that comes with the kit. These are used when you can not configure the bent axles to work. If you use the straight axle make sure you put a small L bend in it at the end. This will not allow the axle to spin in the epoxy, instead the wheels turns on the axle. |